
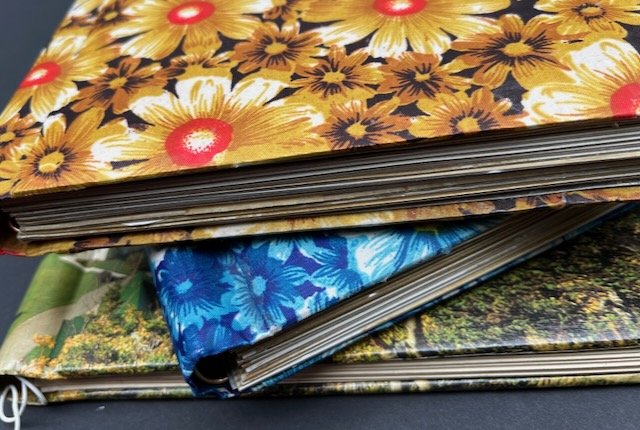
Rescuing photos from sticky magnetic albums.
Do you have photos in the sticky magnetic albums? You know the ones, popular in the 1990s and earlier, where you peel back the page and stick your photos on? They seemed great for saving photos and adding other memorabilia. But if you pull them out today they likely have a nasty yellow tinge, the plastic cover may stick to your photos, and your photos may stick to the page. What’s worse, if you try to take the photos out sometimes you get lucky and they just fall right out, but often they are stuck and rip when you try to extract them.

Sticky adhesive albums are destroying your photos.
Take a look at your albums. Are the pages yellowed? Are the photos discolored? These albums are not archival quality and thus your photos are slowly dying in them. It’s time to remove them, digitize them, and store them in archival safe boxes or pockets or let them go. I do not always suggest saving these photos - photos from the 1980s and 1990s are often printed on cheap poor-quality paper - you know the ones, you could get double prints for just $1 more! Why do you think they were so cheap? I have personally ditched all of these photos after scanning. The older black and white photos you may find in these albums are often on much higher quality paper and don’t show the same amount of degradation, so these I’ve kept. Whether to keep these prints or not is a personal decision. But if you are going to keep them, place them into archival-safe packaging after digitizing.
How to remove photos from magnetic sticky albums.
If you are lucky, you can peel back the plastic and the photos fall right out. Sometimes that happens. But often the plastic will rip when you pull it back, and the photos are stuck to the pages. After all, that was the whole point of this type of album. But there are some tricks to try when removing the photos.
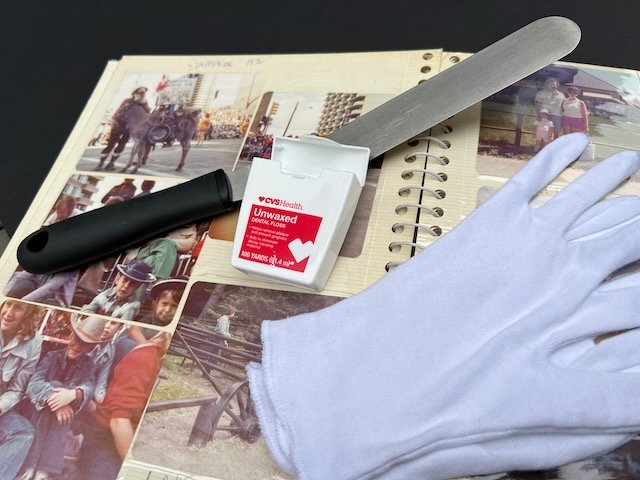
Wear gloves.
First, when dealing with these photos, wear gloves. The oils from your fingers will further damage the photos and add fingerprints that may be visible on the digital image.
Gently pull the photo from a corner at a low angle.
If the photo seems like it will come out with just a bit of force, start at a corner and slowly pull up keeping the angle very low to the page while slowly sliding your fingers underneath the photo. This technique will lift the photo off the page with minimal damage and warping. If it is giving you trouble and you find yourself using too much force or pulling the photo, stop and try one of the techniques below.
Use a spatula.
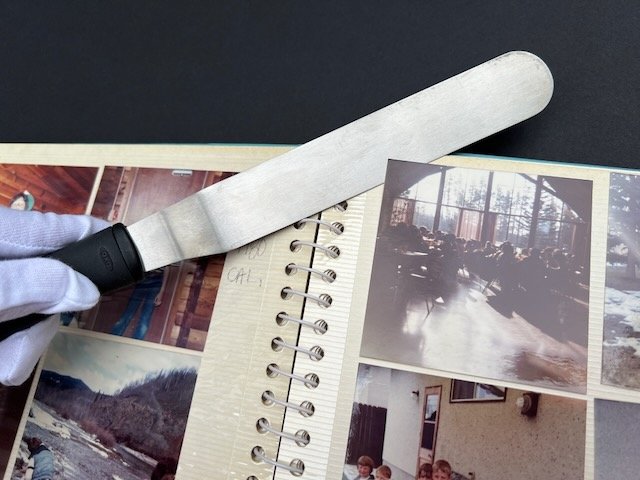
I have a cake spatula that turns out to be very good at separating a photo from an adhesive page. Generally this works if you just need a bit of extra force to get the photo up. But be careful, if you push too hard the spatula might rip the photo.
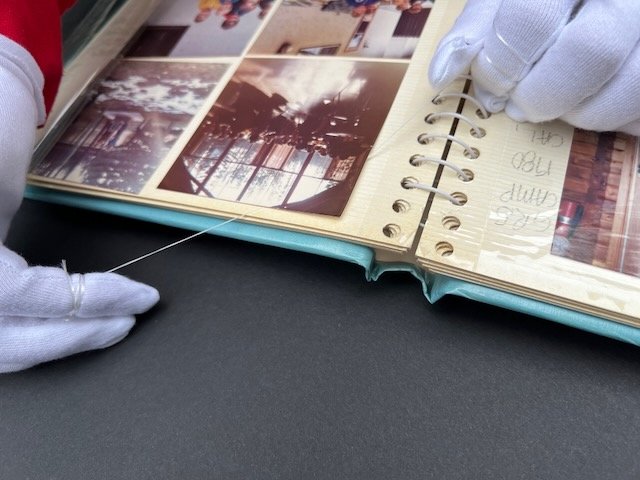
Use unwaxed dental floss.
Dental floss is not just for good hygiene, it’s also a staple in every professional photo organizer’s toolkit. If a photo is really sticky slide the dental floss under a corner of the photo and slowly move it back and forth to loosen the photo from the page. Don’t stop until you reach the other side to keep the photo from accidentally ripping.
Can’t get the photos out? Leave them alone.
If the photos do not want to budge, or if you are worried about damage during removal, leave them in the album. It can be difficult to scan photos through the plastic, but we it’s better than ripping the photos. At Arrange Wander Focus we have special techniques to digitize through plastic to avoid the glare.
Digitize your old photos

After removing the photos from these albums they can be digitized so you can enjoy them from anywhere at any time, and share them with family and friends. As mentioned above, either store the photos in archival safe packaging for safekeeping, or discard them. Either way they will take up less space in your house!